Barnes & Noble's self-publishing platform is called PubIt. Through the PubIt website, you can upload your ebook and submit it for sale on the Barnes & Noble website. The process is very similar to Kindle's KDP site, with only a few minor differences. In this walkthrough, I will take you through the process of publishing on Barnes & Noble's PubIt! site, one step at a time.
Start by signing up for a PubIt account. Once you have registered, you will land on the main page of the PubIt dashboard. As you publish your books, they will appear here on the front page of your dashboard under the "My Titles" tab.
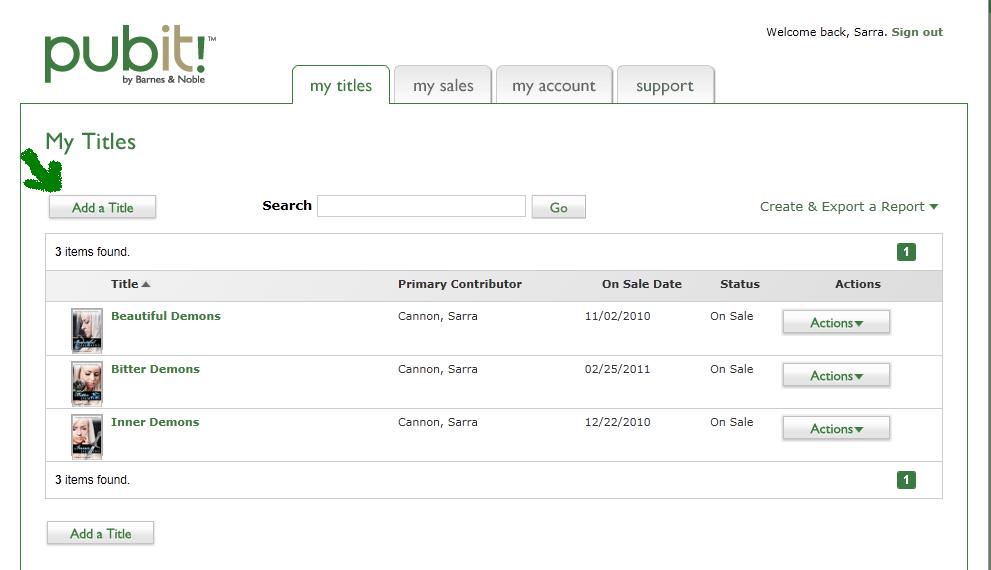
To upload your title to Barnes & Noble, start by clicking on "Add a Title". Here, you will find 6 steps toward uploading your book. Let's take a look at the steps one at a time.
This is where you will enter your book's title, price, publisher and contributors.
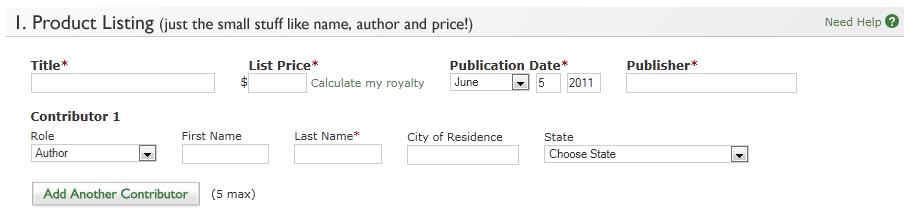
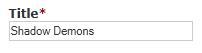
There is a lot of important information in a small area here. I thought it would be easiest to take a look at this section one box at a time. Keep in mind throughout the walkthrough that anytime you see a red asterisk in the PubIt interface, that means it is a required field. So, first things first. Book title. Enter your book title in the first box like this (for example purposes, I will be using the fourth book in my Peachville High Demons series, Shadow Demons).
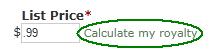
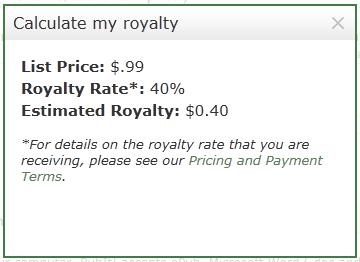
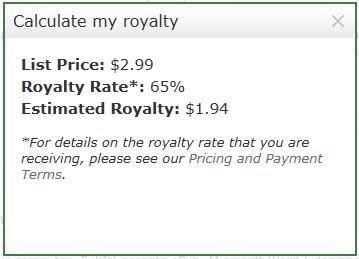
The second box on this line is the List Price. B&N has a similar royalty structure to Amazon, but the numbers are a little bit different. For books priced between $2.99 and $9.99, B&N pays a royalty rate of 65%. Any other price receives a royalty rate of 40%. Once you enter a list price for your ebook, you can click on "calculate my royalty" in order to bring up a dialogue box that explains how much you can expect to make per sale at the entered price.
Below, you will find two examples of the "caluculate my royalty" pop-up box. One for a $0.99 book and one example of a book priced at $2.99.
Publication Date will automatically default to the date you begin the upload of your title to the PubIt site. If you would like to change the publication date, simply use the drop down box and the enter your desired date.
Publisher is also a required field. Here, you can enter your own first and last name or you can create a name for your publishing house. It might be a good idea to google the name of the publisher you would like to use to make sure there isn't already a publishing house by the same name. You don't have to officially start your own company to enter a publisher name. You can operate as a sole proprietor of your publishing company. I use the name "Dead River Books" as my publishing company. I own Dead River Books, LLC. If you want to learn more about the advantages and disadvantages to starting your own LLC, corporation or sole proprietorship, you should talk to an accountant to see what is the best for your situation. I can't give advice about this. I'm just letting you know what I decided to do. If you don't want to mess with a company name, just put your own name as publisher.
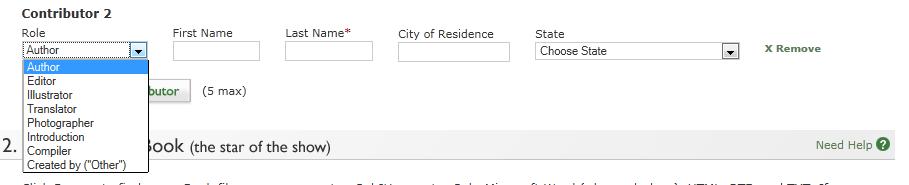
The contributor line is where you enter the name of the author, illustrator, and anyone else whose name belongs on the main book page. The name you enter here is the name that will show up in reference to your book. If you have a pen name, enter it here. Don't use your real name unless that's the name you want to be published under.

If you would like to add another contributor, such as another author or an editor, click "Add Another Contributor". This will bring up a second line marked "Contributor 2". Use the drop down box to select the role that contributor had in creating the book, then fill out the rest of the boxes as you did before. City and State are not required fields. There is a maximum of 5 contribuors per book.
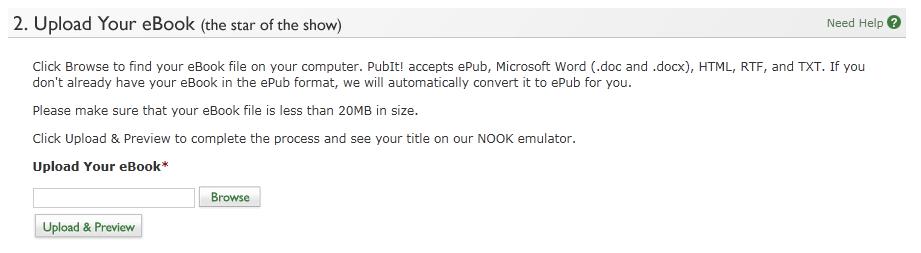
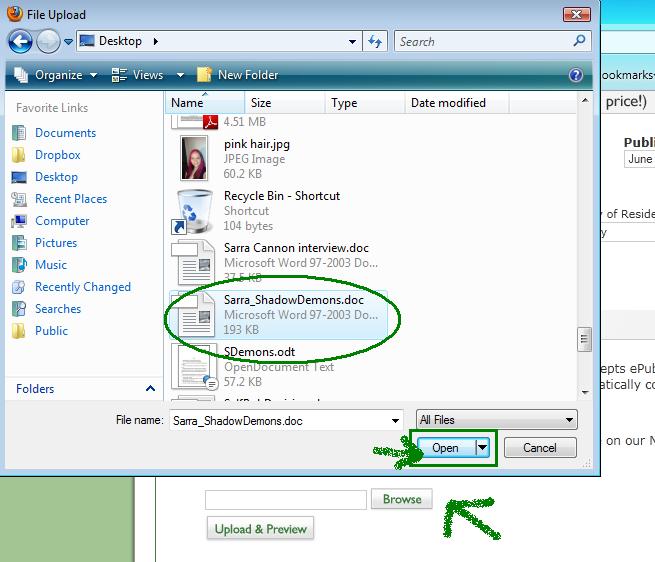
Click "Browse", then locate the file you want to use on your computer's hard drive. PubIt accepts novels in epub,.doc, html, rtf, and txt formats. Click "Open", then choose "Upload & Preview". It will take a few moments for B&N to convert your document to an epub file.
Once your book has been successfully converted and uploaded, your screen will look like this:
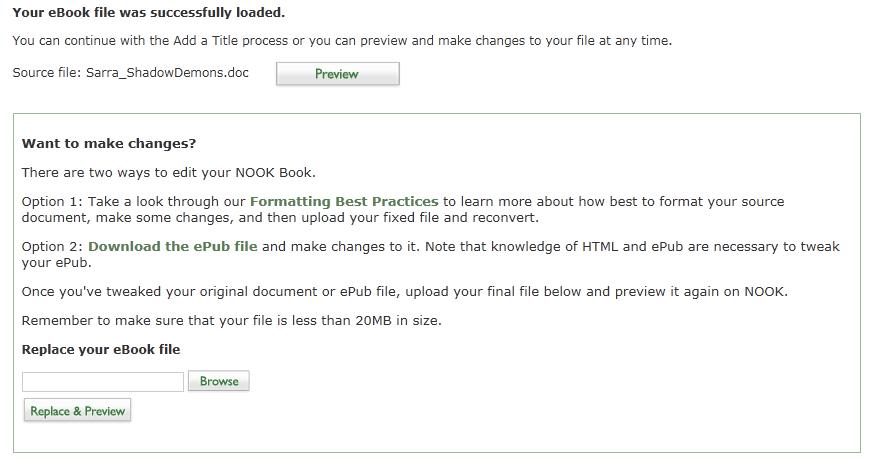
In order to see what your book will look like on the NOOK, simply click "preview" next to your file name. This will bring up a box where you can preview on both the NOOKcolor and the NOOK. Click "next" at the top or bottom of the box in order to navigate to the next page. When you are finished, click "Close preview" at the top right-hand corner.
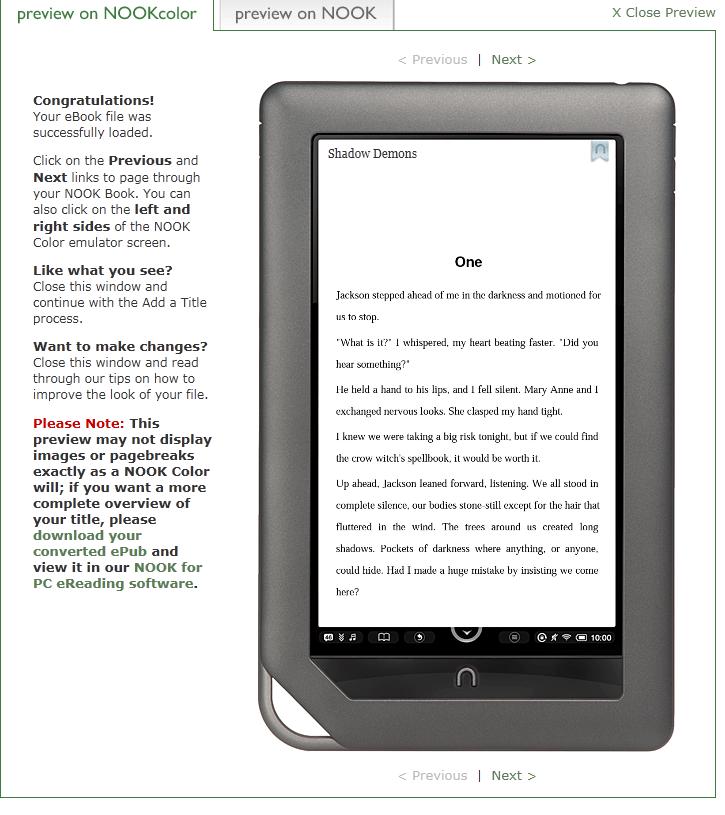
If you like the way your book was formatted, simply move on to the next step. If for some reason, you aren't happy with it, read through B&N's tips on how to improve the look of your file, then upload a new version in the box in Section 2 where it says "Replace your eBook file". Using an actual epub file will create the cleanest formatting results.
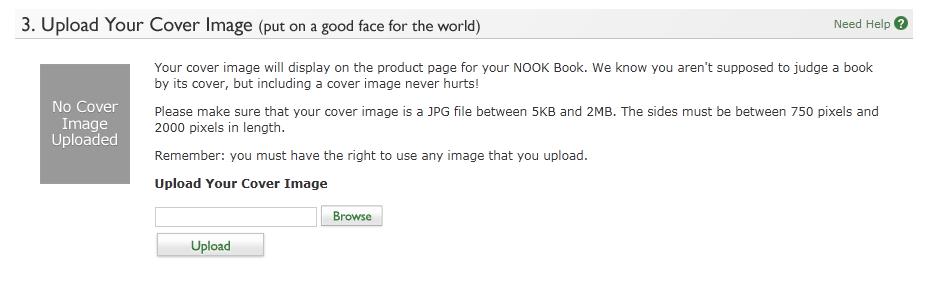
PubIt only accepts JPG files between 5KB and 2MB, so make sure your image fits those size requirements. Also, be sure that you own the copyright to the image you plan to use. You can either create your own image or hire an artist to create a cover image. Either way, there are tons of stock photo sites out there where you can pay for the rights to use stock images on your book cover. I can't stress enough how important your cover image is to your success as a self-published author. It is the first thing that will draw readers to your book and get them interested in learning more.
When you click "Browse", it will bring up a box where you can locate the image on your hard drive (just like it did with the book file). Select your image, clic "open", then click "Upload". It will take few moments for your cover image to upload to the PubIt site, but once it has successfully loaded, your screen should show a small thrumbnail of your image on the left side of the screen.
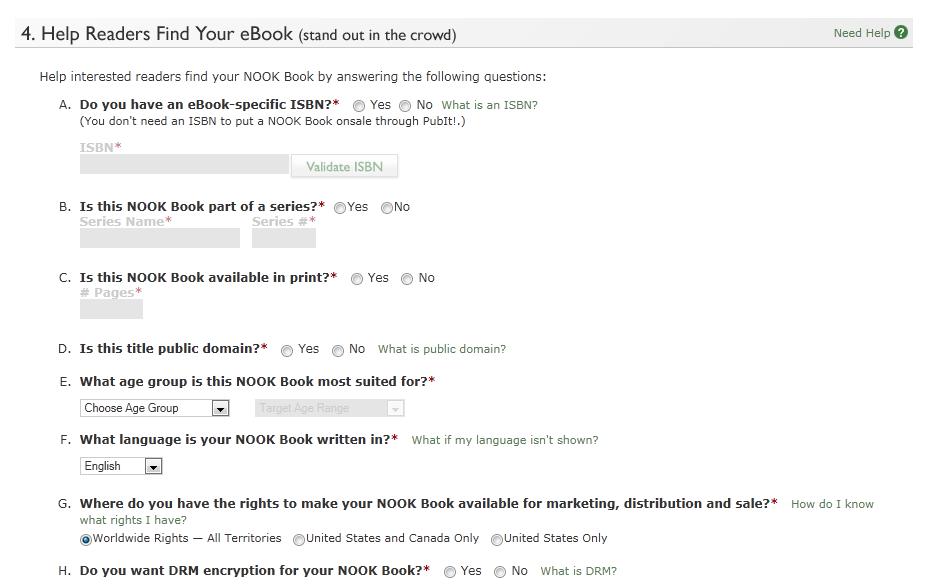
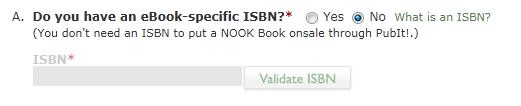
There are eight parts to this section, but filling them out should be quick and easy. First, do you have an ISBN? This is not a requirement for selling your book on Barnes & Noble, but if you wish to purchase an ISBN (or if you already have one for this book), you can enter it here. Remember that you CANNOT use the same ISBN here that you use for your paper book!
Next, you will enter whether or not your book is part of a series. This is a very important tool on the B&N website because in the book details section of your page, they will list your series title as a clickable link. When a reader clicks on this link, it will take them to a list of all the books in that particular series. You want to be sure that for every book in any series, you enter the series title exactly the same so that B&N will link them all together. In the "Series #" box, you simply list which book # this is in the series. Since Shadow Demons is Book 4 in my Peachville High Demons series, I entered the #4 in this box.

TIP: If you aren't sure whether this book will be part of a series, leave this section blank when you upload your first book, but don't forget to come back later and add in this field if you decide to link this book as part of a series!
In Section C, you simply need to mark whether this book is available in print or not. If yes, then enter the number of pages in your print version.

Is your title in the public domain? Public domain simply means that the copyright for this book has run out. For most people, this will be a simple "no" answer. If you own the copyright to your book and it is an original work, then no, the book is not public domain.To read more about public domain, see the Wikipedia Article.

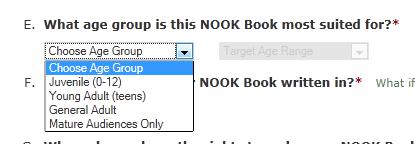
What age group is your book most suited for? Use the drop-down box to select either Juvenile, Young Adult, General Adult, or Mature Audiences Only. The "Target Age Range" box only applies if you select Juvenile as your age group. My books are targeted to teen readers over the age of 12, so I selected "Young Adult".
In the next two slots, you will select the language your book is written in from a drop-down menu. Then, next you will mark whether you own the copyright to publish your book worldwide, in the US and Canada, or only in the US. If you have a question about your rights, click on "How do I know what rights I have?" to read more. For most people, the correct option is "Worldwide Rights" since you are the only person who owns the copyright to your own work.


DRM can be a tricky decision for some authors. Basically, DRM (digital rights management) makes it more difficult for people to share your book. DRM places an encryption on your book's file. Frankly, this is a very personal choice and you might want to read more about DRM online to figure out where you stand. My personal opinion is that DRM is more of a pain in the you-know-what for people who legally download your book than it is a deterrant for people who are trying to obtain your book illegally. I always mark "No" here, but again, it's your choice. Once you have made a decision about DRM, however, it cannot be changed, so don't mark an answer until you are sure of what you want.

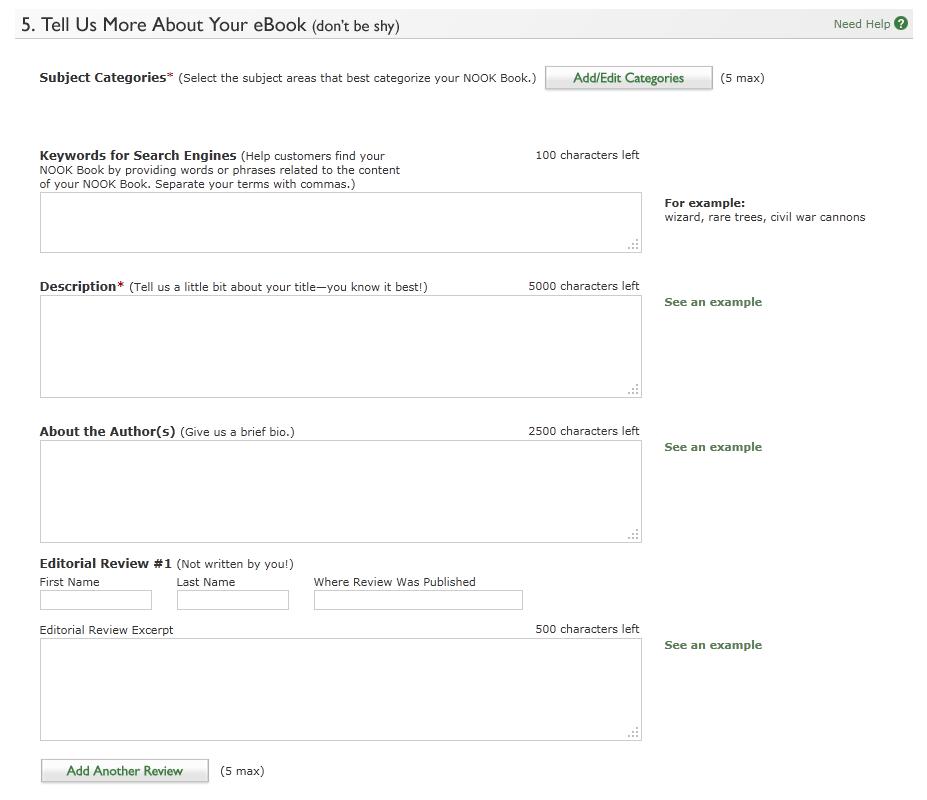
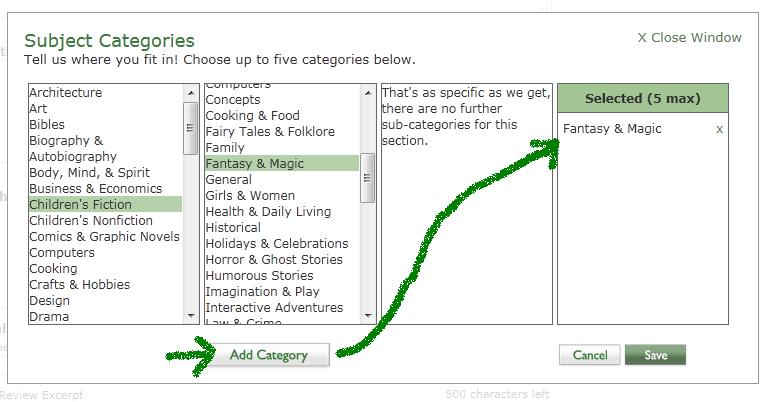
This is an important section that might take the most time of all sections to complete. First, select your subject categories from the list. When you click "Add/Edit Categories", a new box will pop up, giving you preset choices of categories and sub-categories. B&N allows you to choose up to five categories for your book. You will start on the left side by choosing a general category, such as Children's Fiction or Fiction. Double click on the category, which will then bring up a list of sub-categories. Double-click on your sub-category to either bring up another set of sub-categories or a message that says there are "no further sub-categories for this section". Once you have the category you want, click "Add Category" at the bottom of the box. This will then list that category under "Selected" on the right side. When you have up to five categories selected, click "Save".
Now, your suject categories will appear as a list. You can change them at any time by clicking on "Add/Edit Categories".

Next, enter keywords to help readers find your book by searching for words or phrases. Instead of giving you a set number of keywords, B&N allows you to enter up to 100 characters. Be sure to separate terms with a comma. Here is an example of keywords I might use for my Young Adult series. This is an optional section, but I highly recommend that you use search keywords to help readers find your book.

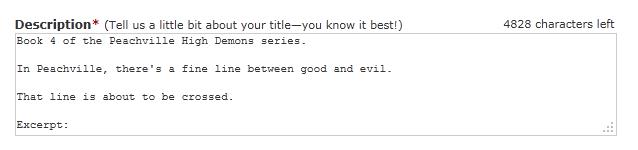
Think of your book's description like the back cover blurb on a paperback novel. You want to give just enough of an overview to hook your readers in and make them want to download your book on the spot. You have 5000 characters of space here, so feel free to add an excerpt from your novel, quotes from other writers, or any other information that might help entice readers to purchase your book. I would definitely advise you to spend some time working on your description as this is another powerful marketing tool.
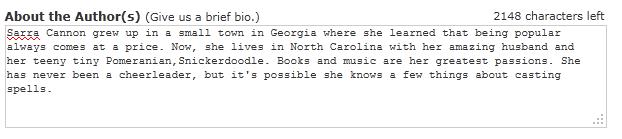
About the Author is a section where you can enter 2500 words to tell readers about you as an author. You can write this in first person or third person. You can also use this space to list previous or upcoming works.Again, this is an optional section.
The final part of Step 5 is to enter Editorial Reviews. These are reviews written by someone other than yourself. You have up to 500 characters of space to enter a review, so if a book blogger reviewed your book, you might need to pick out only the very best parts of the review since the entire blog post might not fit.
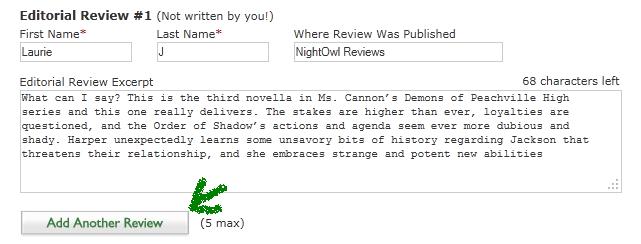
TIP: While you can enter up to five reviews, all of the ones you enter might not show up on your book's page if you have a long book description. If you are having trouble with your page not showing all of your reviews, try editing your description down to only 1500 words.

When you are sure that all five of the above sections are filled out the way you want and that your book is formatted exactly the way you want it to look, click on the small box to confirm that you have the legal right to sell this book, then click "Put on Sale". If, for any reason, you are not ready to publish your book, you can click "Save" here at any time and it will save your work, but will not put your book on sale. You can come back and edit this information at any time.

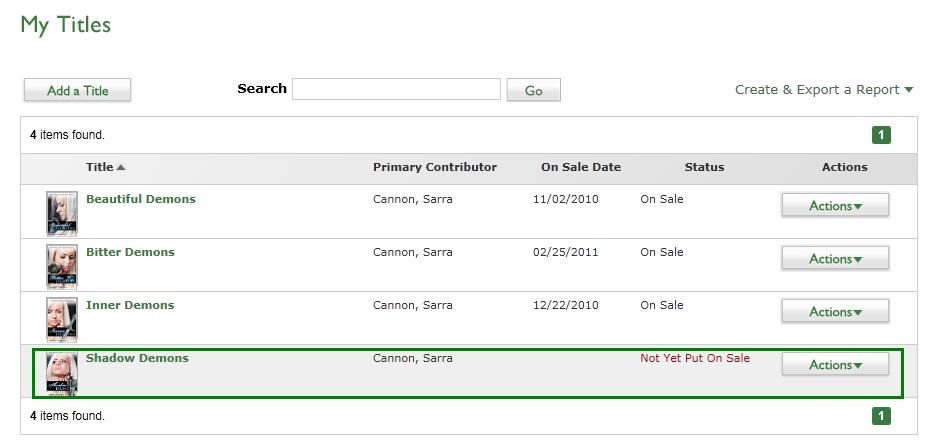
Once you have clicked to "Put on Sale", you will be directed back to your dashboard. Your new book will appear on your list of titles. If you have saved your book, but not yet published it, you will see a red message that says "Not Yet Put on Sale".
If you have put your book on sale, it will say something like "Pending" as the Status. Check back over the next 24-72 hours. When your book's status is listed as "On Sale", that means your book is now avaible for sale on the Barnes & Noble website.
If you have any other questions throughout the publishing process, you can always save your work, then click on the "support" tab from the main PubIt Dashboard for answers to frequently asked questions. I hope this walk-through has helped answer some of your questions about how to publish your Nook book in the Barnes & Noble web store. If you have any questions or corrections, please feel free to contact me through my website at www.sarracannon.com